Montavilla Sewing Blog
Heart Quilt Block
February 6, 2025
As February rolls in, love is in the air—and what better way to celebrate than by stitching up a beautiful heart quilt block? Whether you're crafting a heartfelt gift for a loved one, decorating for Valentine’s Day, or simply adding a touch of warmth to your next quilt project, this Intermediate tutorial will walk you through the steps to create a stunning heart-shaped quilt block. With easy-to-follow instructions, fabric recommendations, and pro tips, you'll be stitching with confidence in no time. Grab your favorite fabrics, fire up your sewing machine, and let’s sew something special!
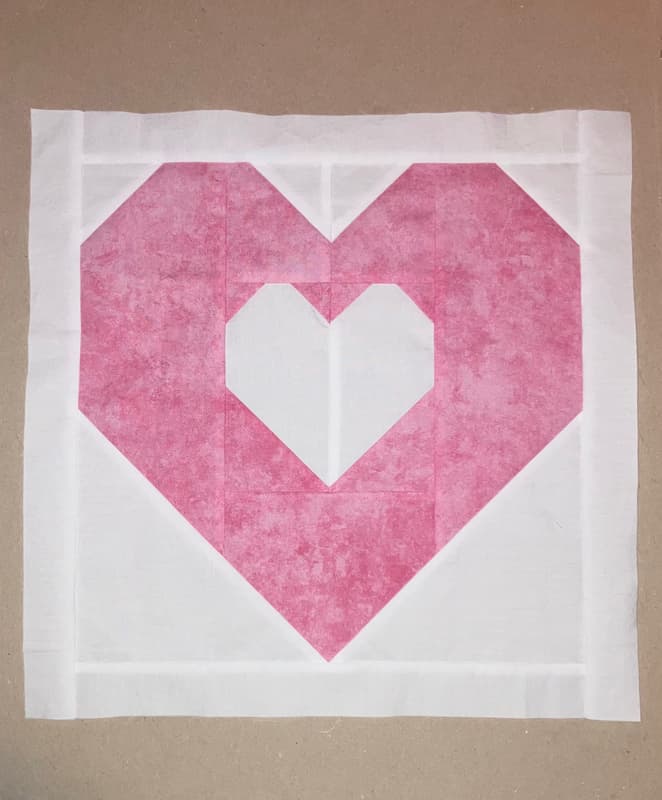
Heart Quilt Block
Makes a 14” block, including the borders.
For intermediate and above skill levels.
Tools:
Rotary cutter, mat, and 12 ½” square ruler
Disappearing fabric marker or brush-away chalk pencil, sharpened
Materials:
One pink fat quarter
One white fat quarter
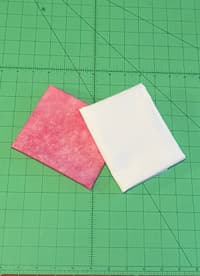
Fabrics can be other colors or muted small prints
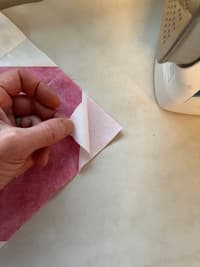
Pre-wash fabric and press out any wrinkles.
Cut the pieces in the order given below. Do not use selvages.
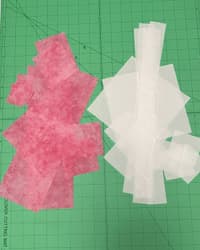
From the pink cut:
Two 4” by 13” rectangles
One 4 ¾” by 5 ½” rectangle
Two 3” by 3 ½” rectangles
Two 3” squares
Four 1 ½” squares
From the white cut:
Four strips 1 ½” wide by 16” long
Two 6 ½” squares
Two 3” by 5 ½” rectangles
Four 2 ½” squares
Seam allowances are a scant ¼”, with a short stitch length of about 2.0. Chain piece and use an on-off leader to get seams all the way to the edges.
SA means Seam Allowance
RST means Right Sides Together
Press all seam allowances towards the pink (darker) unless otherwise instructed.
There will be some trimming.
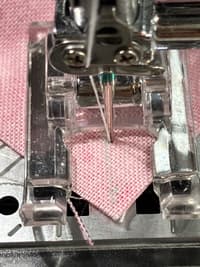
When sewing along diagonal lines, keep your stitching just a bit toward the outside - using an open toe presser foot can help with visibility. Doing this will help your raw edges be even when you turn and press the corners.
Pressing your diagonal corners before trimming is helpful for making sure these corners are square.
Start with the center:
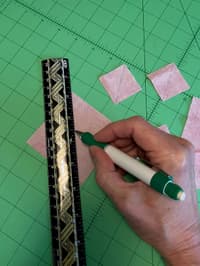
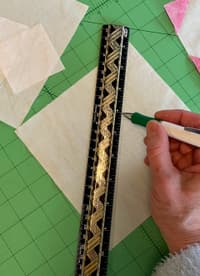
- Lightly mark diagonal lines on each pink 1 ½” square and on each pink 3” square.
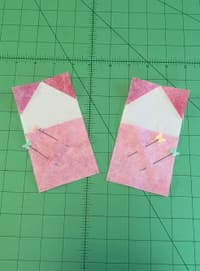
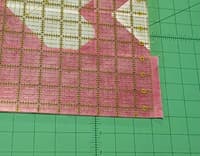
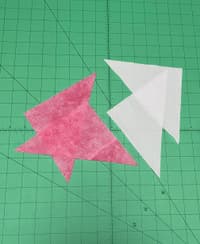
- On each white 3” by 5 ½” rectangle add two 1 ½” pink squares, aligning the raw edges.
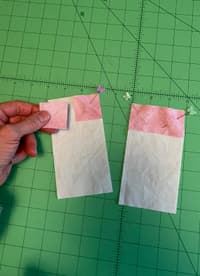
- Sew the diagonal seams across the squares (to round the tops).
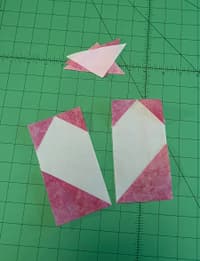
Press the pink outwards, then trim SA’s to ¼”.
- In the same way, sew one pink 3” square to the bottom of each white rectangle, but angle each the opposite way so they will form a “V” at the bottom when sewn together. Press and trim.
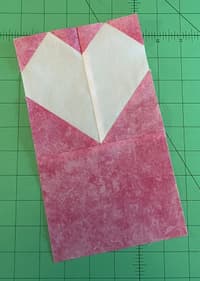
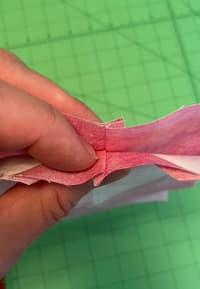
- Using your piecing foot, sew the two halves RST to make a white heart.
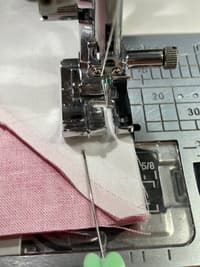
-Press center seam to one side (or open if you prefer). The point of the “V” at the bottom will have extra fabric beyond it, which will be included in a seam allowance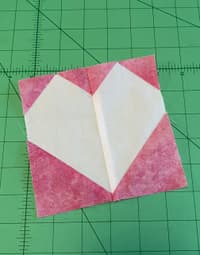
- Now measure this small heart block

- If less than 5 ½”, re-sew the bottom triangles and center seam with narrower seam allowances. And from here on make sure your SA is a scant ¼”. If it is larger, trim all edges to make it an accurate 5 ½” square with 90 degree corners. This center square is foundational to the rest of the block.
Now complete the rest of the block: - Sew the one pink 4 ¾” by 5 ½” rectangle to the bottom. Press SA downward.
- Lightly mark diagonal lines on each white 2 ½” square and on each white 6 ½” square.
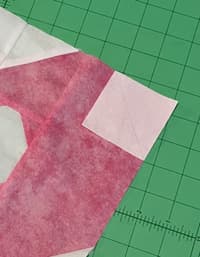
- Switch back to your open toe foot. With the two 3” by 3 ½” pink rectangles facing up, place a white 2 ½” square on the top inner corner of each rectangle with the marked diagonal facing up.
Sew the diagonal seams, to make the top “V” of the big heart. Press and trim.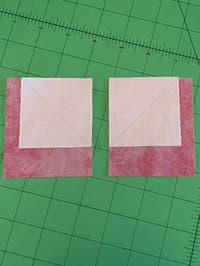
- Using the piecing foot again, sew these RST along their centers.
If you pressed the center seam of the smaller heart to one side, then press this center seam to the opposite side. This will reduce bulk and make matching the centers easier.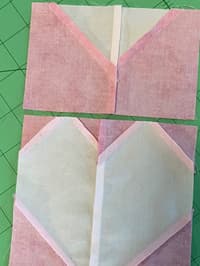
- Sew this top piece to the top of the small heart block. Press SA upward.
Measure to make sure this whole center section is at least 12 ½” tall. It can be trimmed later.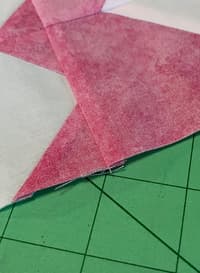
- Line up the bottom edge of a 4” by 13” pink rectangle with the bottom edge of the center assembly, and sew it on.
Do the same with the other 4” by 13” rectangle on the other side. Press the SA’s outward. The whole thing should measure 12 ½” wide. If not, now is the time to adjust the last two seams.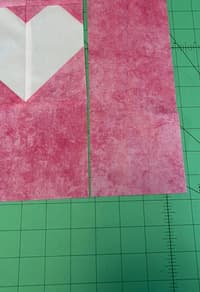
- Switch back to your open toe foot. Sew a white 6 1/2” square on the bottom corner of one of the pink side pieces with the diagonal marks facing up. Sew a diagonal seam. Press and trim. Do the same with the other white 6 1/2” square to make the bottom “V” of the heart. The point of the pink “V” will have some extra white fabric beyond it
.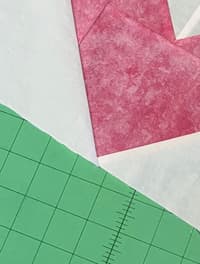
This will go into the seam allowance when attaching the borders. Press and trim. If necessary, slightly trim bottom to make it straight. - Now carefully measure and trim the top edge to make it 12 1/2” tall
- Sew the remaining two white 2 1/2” squares to the top outer edges in diagonal seams to round the top of the big heart.
- Using the piecing foot, sew white 1 1/2” strips to the top and bottom.
Press SA’s outward, and trim excess length on the ends.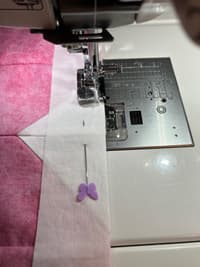
- Sew white 1 1/2” strips to the sides. Press, and trim excess.

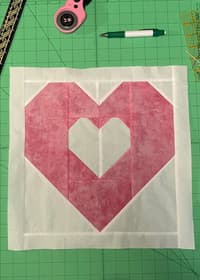
You’re finished. Admire your work!
Tips:
With this many seams, it is possible that your big heart block will be slightly less than
12 1/2”. If so, you can make your border seam allowances narrower.
If you are making several quilt blocks, use the larger trimmed off pieces to cut out some smaller squares and rectangles for the next block.
Extra Tips:
You can also use the center square as a 5” block.
Also, if using sashing in your quilt, you can leave off the borders and have a 12” heart quilt block.
With very high-contrast fabrics (e.g. red and white) it may be necessary to trim just the red seam allowance slightly, whenever pressing seams towards the white so that it doesn’t show through. And pre-wash your red fabric to help remove excess dye.