Montavilla Sewing Blog

Ice Cream Cone Quilt Block Tutorial
October 10, 2024
Ice cream - a favorite summer treat, but great any time of year! This beginner quilting project is simple enough for new quilters but can also be used in more complex quilts. The pieces are cut a bit larger and trimmed to size after sewing, creating a 12 & 1/2” block. This Block can be made on any sewing machine, so let's dive in!
Materials Needed:
- Fat quarters or 1/4 yard pieces:
Medium brown (cone)
Your favorite ice cream flavor (scoop)
Contrasting background color (I chose light blue)
Tip: “Reads-as-solid” prints work great here!
Cutting Your Pieces:
Cone:
Cut one triangle with a 6” base and a 6” height. (An upside-down isosceles triangle)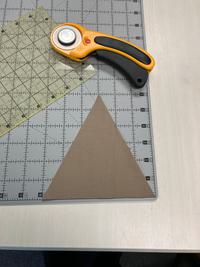
Ice Cream Scoop:
Cut one rectangle, 7” by 5”. The bottom of the scoop will be wider than the top of the cone.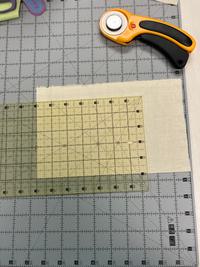
- Background Pieces (We used blue):
Cut one rectangle 3.5” by 6”, then cut diagonally (to attach to the cone).
Cut two 2.5” squares (for rounding the top of the scoop).
Cut two rectangles 1.5” by 6” (to add to the sides of the cone).
Cut two rectangles 10.5” by 3.5” (for the sides).
Cut one rectangle 3” by 13.5” (for the top).
Cut one rectangle 2” by 13.5” (for the bottom).
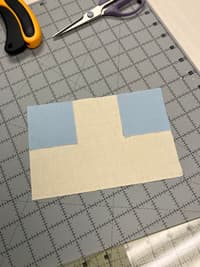
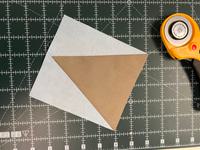
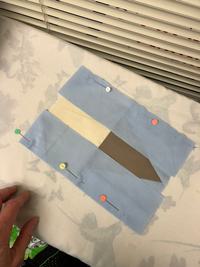
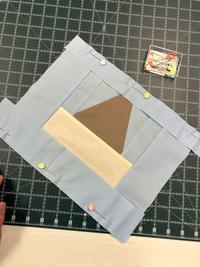
All Put together, The Background pieces will look like this: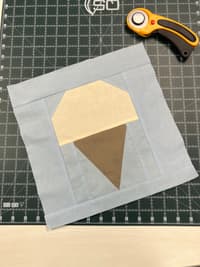
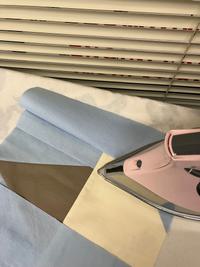
Sewing Your Block:
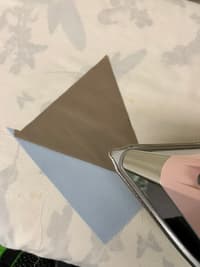
Rounding the Scoop:
- Place the two 2.5” background squares at the top two corners of the scoop.
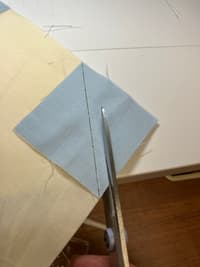
- Sew diagonally from corner to corner on each square.
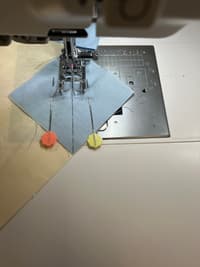
- Trim excess fabric to a 1/4” seam allowance.
- Press the SA toward the background.
- Place the two 2.5” background squares at the top two corners of the scoop.
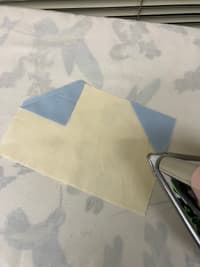
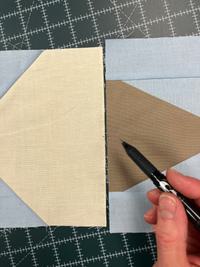
- Attaching Background to the Cone:
Line up the raw edge of the cone with the diagonal edge of the 3.5” by 6” background triangle. Make shallow marks in the middle to help line them up.
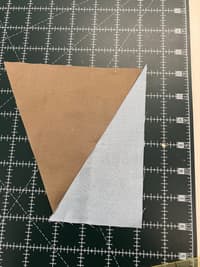
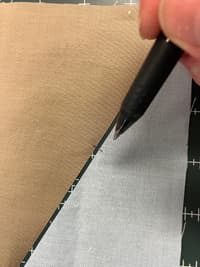
Sew the edges right sides together and press the seam allowance towards the background. Repeat for the other side of the cone.
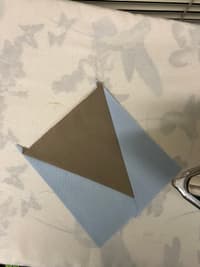
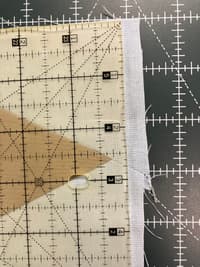
Trim the bottom so there is 1/4” of background fabric extending beyond the lower tip of the cone.
Adding Side Rectangles:
Sew the 1.5” by 6” rectangles to each side of the cone assembly. Press the seam allowance outwards and trim to match the cone’s height.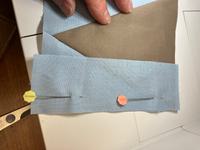

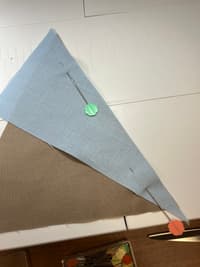
- Joining Scoop and Cone:
Mark the center of the bottom of the scoop and the top of the cone.
Match these marks and sew them together right sides together. Press the seam allowance towards the scoop.
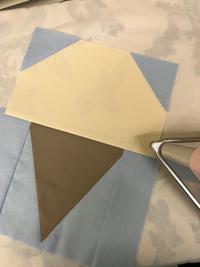
Trim the sides to match the width of the scoop.
- Adding the Background:
Sew the 10.5” by 3.5” background rectangles to the sides. Press the seam allowance outward and trim to fit the height of the block.
Sew the 3” by 13.5” rectangle to the top and the 2” by 13.5” rectangle to the bottom. Press SA outward.
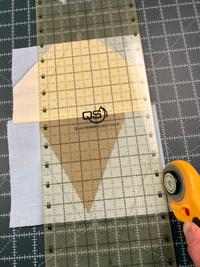
Finishing Your Block:
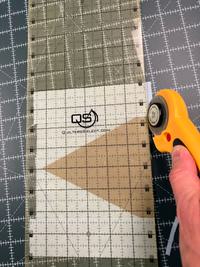
- Trim the Block:
Using your 12.5” quilting ruler, trim the block to size. Center the tip of the cone 6.25” from each side, and place the seam where the scoop meets the cone 6.5” from the top edge. The top border will be wider than the bottom border.
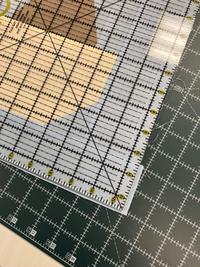
Carefully trim the excess fabric to ensure your block is a 12.5” square.
Enjoy your completed Ice Cream Cone Quilt Block! Whether you’re making a summer-themed quilt or using it as part of a larger project, this block is a fun and rewarding addition to any quilt.